Get Faster on the Bike with these 5 Tips
I found when looking for ways to get faster on the bike, is that there is so much information, from different coaches and experts, that it can be confusing and overwhelming. Personally, I enjoy having so much information as it allows me to try different methodologies to find what works for me, and for my client athletes. Here are a few ways to increase your speed on the bike, that in my experience has worked quite well.
Increase Your Pedaling Efficiency to Get Faster
How does a bike move? The circular motion of the pedals, right? How do you create that motion? You push down on the pedals which moves the crank in a circle. That is one way. The question would be, is that the most efficient and does it propel the bike with the full potential of the rider? Not necessarily.
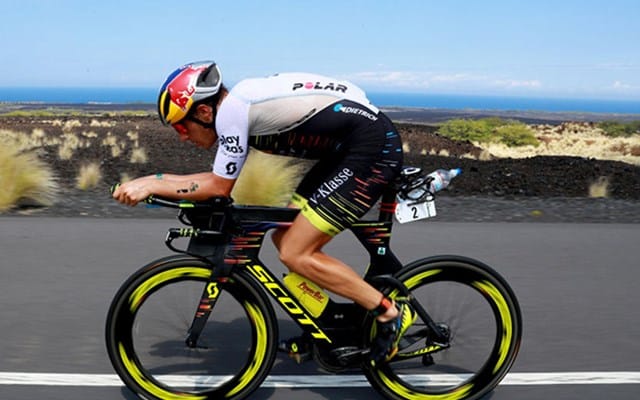
Most novice bikers tend to only push down on the pedals as I mentioned prior. That is only half of it. One of the reasons most cyclists and triathletes use bike shoes and clip-less pedals is not only to keep feet firmly in place, but the fact that it allows for two points of power; Pushing down on the pedals using the quadriceps, and pulling up using the hamstrings. An effective analogy that helps to turn the grinder (push only) cyclist into a more efficient one, is imagining the full rotation of the crank as a clock.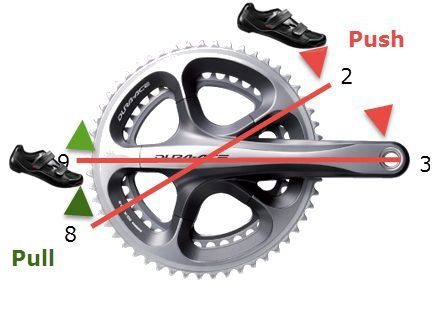
The penultimate, or switch, from push to pull of a single leg, might take place at the 9-3 or 2-8 positions. Be that as it may, every rider is different, so the penultimate may be different. In other words, as your foot rounds the 9 position, switch from pushing down to pulling up one foot while doing the opposite on the other. If you try this on your next ride, it most likely feels foreign. The best way to overcome that is to incorporate single leg drills into your warm up.
How to integrate better-pedaling efficiency
I prescribe my clients 100 single leg rotations on each leg with 1 minute of an easy spin in between as a warm up to every ride. This allows the initial leg to keep moving while receiving power from the opposite leg, and allow you to feel tension around a full rotation.
At first, you may feel a chunking in your stroke. That is just the crank telling you it does not have full tension all the way around the “clock”. Find a gear where you know longer feel or hear it and then continue with the exercise. Soon it will not matter what gear you are in. Finding that smooth, full pedal stroke will be an epiphany that will allow you to gain even more speed.
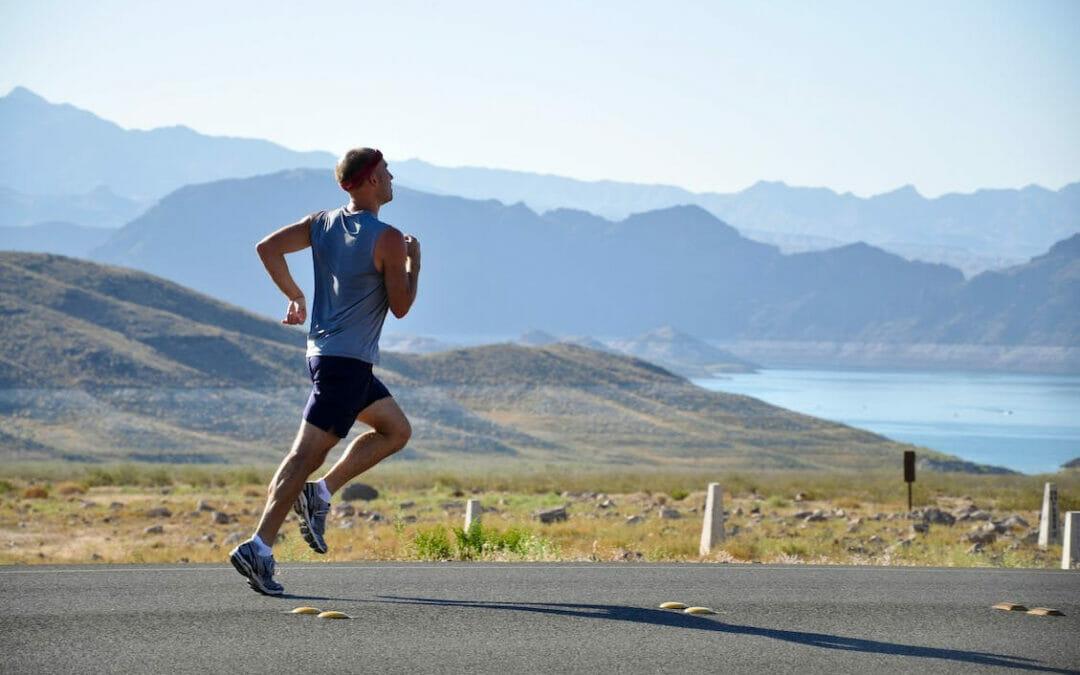
 Ride Hilly Courses to Get Faster
Even if your event is flat, you will find an advantage to pedaling up hills. Steep hills will challenge your cardiovascular system while long hills will increase your strength.
A good amount of triathletes tend to fade away from doing hilly races because hills are a challenge. If only they would remember Isaac Newton and the law of gravity. What comes up must come down. While it might be a challenge going up, there is recovery on the way down.
How to integrate riding hilly courses
Start with a flat course that includes a couple of short hills and ride it a few times repeating the hills. Then find an area that includes a loop or out and back courses that is mostly hills or a good combination, and add loops for a few workouts.
I do not suggest finding a group that does hills on a regular basis and jumping in without conditioning yourself to take on different lengths and grades of hills.
Complete Best Effort Interval Workouts and Get Faster
When I first started, I never thought to use the knowledge I gained completing track workouts would transfer it to the bike. I 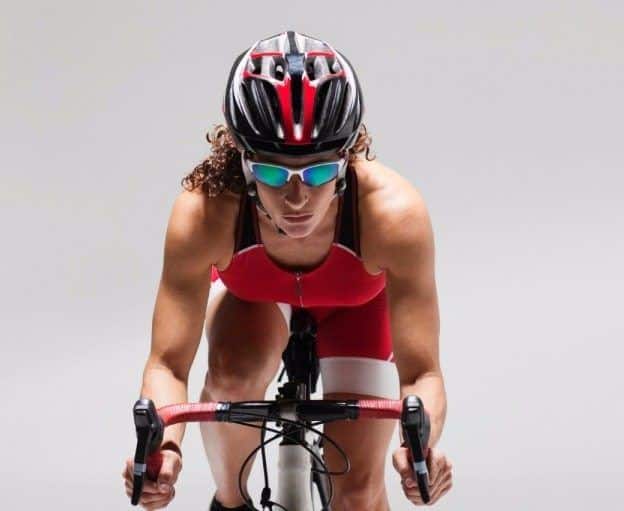 found that, for me, interval training, like on the track, it is one of the fastest ways to progress on the bike. If there is only one tip you take away from this article, take this one.
Intervals are designed to adapt other muscle fibers for use along with the main set of fibers. Endurance athletes engage slow-twitch, Type I muscle most of the time. By completing short bursts of high-intensity effort, the fast-twitch, type IIa, and IIb muscle fibers are integrated allowing us to gain their power for higher speeds.
Type IIa muscles can be utilized at the maximum for 2-3 minutes and type IIb only for about 30 seconds. How does this help? When these fast-twitch muscle fibers are used they increase the strength of the type I muscle fibers because they are not doing all the work for that time. The endurance muscle fibers are given some recovery allowing them to be used at a higher intensity later.
In-between the high-intensity intervals are high gear spins or low tempo efforts. The fast-twitch fibers can then recover as well. Fast-twitch muscle fibers can recover almost as fast as they are depleted.
Example of Best Effort Interval Workouts
Quick Note:
My clients usually have been riding and completing at least six months of medium intensity workouts before they are prescribed Best Effort workouts. I suggest having a very good fitness base before attempting a workout like the one below.
Here is one workout I assign my clients:
- Warm-up: 10 Minute Easy Spin
- Main Set: 30 Seconds Best Effort, 1-minute Easy Spin x 5
- 1 minute Best Effort, 3 minutes Easy Spin x 5
- 3 miles Race Pace, 1-mile Easy Spin X 5
- 30 seconds Best Effort x 1-minute Easy Spin x5
- Cool Down: 10 minutes 95+ RPM Spin
Best Effort is just what it says. The fastest you can go for that amount of time without regards to the rest of the workout. You will find that each of the intervals will be slower than the interval prior. If it isn’t, then you did not truly go all out or in other words, give your best effort.
Train with Power to Get Faster
I started training with power two years ago, and it has helped me get faster on the bike not only efficiently but with a lot less difficulty. A power meter provides you with the amount of torque, in watts, you are creating while pedaling at any given time.
The advantage here is that by calculating your Functional Threshold Power, you can train in and outside of your limitations to create strength and power which will result in more speed. Prior to training with power, I was constantly looking at three things. Speed, Cadence, and Heart Rate(HRT). I would also have to take into consideration the conditions and terrain I was training on. If it was hilly, my HRT would scream as I was riding the incline and my speed would reduce, and then the opposite on the decline. When the weather was windy, my HRT would elevate if I tried to keep my speed at my goal, so I would have to reduce it, in order to keep from bonking.
With a power meter, I only have to look at one number. By completing a test and calculating my personal Functional Threshold Power, I now only need to look at one number. FTP is the total number of watts I can average over an hour. Total watts is in my definition from ‘Fresh’ to ‘Dead’. Totally recovered to totally spent.
Obviously, there are certain races you do not want to race at your FTP or over. For example, a 70.3 triathlon; which includes a 56 miles bike after a 1.2-mile swim and before a 13.1 mile run following. If you ride at your FTP, you won’t have enough energy for the rest of the bike, let alone the run.
Goal Race Power
Through training, the object is to find the what your Goal Race Power will be. Usually, we think about it as a percentage of 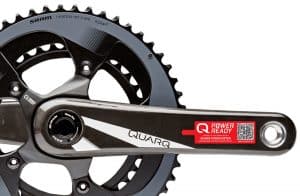 your FTP. Most triathletes can ride 90-95% of their FTP for a Sprint, 85-90% for an Olympic, 80-85% for a 70.3, and 70-75% for 140.6 triathlon events.
For example, if my FTP is calculated at 300 watts, then my goal race power for a 70.3 triathlon would be 184-195. That is the only number I have to look at. Instead of thinking about my speed, what my heart rate is, and then what adjustments to make for conditions, I only have to look at the one number.
If I have to climb a hill on the course, I increase the gear to a point that I stay in my power range. The same holds true for wind. My FTP takes in to account everything my body can handle. Sure, on a hill or in the wind my speed might be reduced, but my power will remain the same.
I no longer chase a certain speed on the bike. If I have to put out more watts than my goal race power in order to maintain that speed, then I will end up expending energy I need for the run. Unfortunately, power meters are not cheap. I can write several articles on types, brands, and accuracy of different power meters, so I will not go into that here.
How to integrate Training with Power
The first thing to do is calculate your FTP. It does not have to be done on an hour bike ride where you go all out for that hour. It can be calculated with one 20 minute ride.
After a solid warm-up, speed to what you believe is your tempo pace. Throughout the 20 minutes, build to a point where you are the absolute maximum effort for the last 5 minutes. You should be pretty spent at that point. Take the average power for that 20 minutes and multiply it by 0.92 and that will give you a good FTP to work with.
If you read any other more complicated articles on power, you will find that there are more specific ways of calculating your FTP that can help to make that number more accurate, but this is the most simplistic.
Now your workouts can consist of working percentages of that FTP for different objectives of your workouts. Speed work may include riding short intervals of 110-125% of your FTP, while for strength, you might ride longer intervals of 90-95%. To understand goal pace FTP, you might work long rides with long stints in variable percentages ranging from 75-90% FTP.
Strength Train to Get Faster
This tip can be looked at as either typical or far-fetched. The popular muscles for biking are mostly the quads and hamstrings, so why not do some squats, some leg curls, and the leg press and be done with it?
The question would be; what are your limitations on the bike? Do you even know if you have limitations? That would bring up the most important question, are you as good on the bike as you want to be? If your answer is “no”, then you have limitations.
The gym is the place to address those limitations and/or weaknesses and then turn them into strengths.
 How to integrate Strength Training
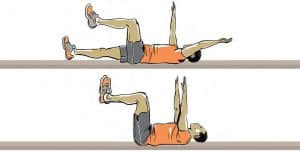
Diagnose your limiters by testing your hamstring flexibility, your adductors and abductors, your core strength and leg strength. Then design a program to address those.
I suggest a strength session 2-3 times a week; one session for power, one session for endurance and agility, and a final session for movement and flexibility.
There are plenty of resources online to find the right movements to do for each session. Pay very close attention to the form of the exercise in order to reduce the chance for injury.
Summary
Everyone wants to get faster on the bike, but it only comes with work and working smart. Most posts keep re-iterating the same things. Good bike fit, ride more, faster-biking partners etc. I am hoping the points I have shared, are new to you or maybe just a little more specific.
Increasing your pedaling potential, riding hilly courses, completing best effort interval workouts, training with power and strength training are ways I found to get faster on the bike. They are current methods I prescribe to my own clients with great success. I hope they work for you too.
What are your plans to get faster on the bike? Do you know of any other methods?
Please comment below with your answers or any feedback you may have.
Carpe Vitam! (Seize Life)
How to Start Cycling
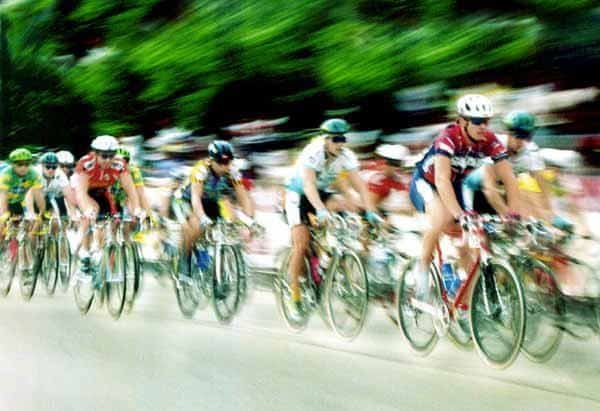
One of the scariest things for a beginning triathlete, besides getting in the open water, is cycling. The first image that wandered into my head upon deciding to start seriously bicycling was of a that scary peloton. Those tight formations of bikes moving at ridiculous speeds, during the Tour de France, so close together that one wrong move could cause serious damage to my body or someone else. Scary right? Luckily, triathlon doesn’t allow for huge groups like that, as a matter of fact it isn’t even allowed. Whew!
Buying my first Bike
I didn’t have a lot of money when I first started in triathlon, and I also didn’t really know if I was going to like it. I spent a lot of time in bike stores drooling over the expensive bikes, while studying cheaper entry level bikes. Every bike store had a different angle they played. One would say, purchase the more expensive bike, gain more speed so when I improved I didn’t have to buy another bike. Another would tell me to buy the entry level but load it up with expensive components so I could ride faster, and when I wanted another bike, the components alone would warrant a good price, and of course that store would buy it back from me and give me a discount an another bike. Decisions, decisions what to do, what to do?
I researched different road and tri bikes online and in magazines, and while I was pretty sure I would enjoy triathlon, I decided on an entry level Canondale CAAD 9 road bike. I also included in my purchase, a pair of pedals, cleats, shoes and a helmet. The helmet was very important especially since I hadn’t actually rode a bike in over 10 years. Would I really not forget how to ride a bike? The answer to that my friends is YES. It is not a skill that is forgotten. It maybe a little unsteady the first couple of times, but not forgotten. Luckily I will have my trusty helmet, just in case.
I also read something that resonated with me. The most important thing that is needed after the purchase of a bike, is the fitting. At first I thought, “what? Don’t I just have to find the most comfortable height of the seat and then get going?” I had no idea that there are so many different adjustments on a bike, to a point that bike “fitters” actually have to be certified in order to properly fit you. They have to take courses, pass tests and be mentored. “Really?”, you ask? Yes…really.
The fitting took about an hour where they put my bike on a trainer, and with my shoes and bike shorts I pedaled, then the fitter took measurements and made adjustments to my seat post raising it and lowering it to a perfect dimension. Then he took angle measurements from the ground to my hip, knee and shoulder and from the pedal and a bunch of other places. He moved my saddle not only up and down by forward and back. He then took my handle bars and put different size spacers on the tube underneath my handlebars to find the perfect height and then was able to move them back and forth to find the right angle, height and most comfortable spot for me. I had no clue there was this much to it.
Pre-First Ride
As I left the store after my fitting, Jo-el, the general manager and friend from my track club, gave me some good advice. I had never rode in cleats and pedals before, where my feet were clipped into the pedals where they wouldn’t just simply lift up. I had to turn my heel so the cleat would unclip from the pedals so I could put my foot down. Jo-el said to take my bike in the house and put it between a doorway, and practice clipping and un-clipping from the pedals. Also, I needed to find the most comfortable side to unclip first and then stick to that side no matter what. I followed that advice in detail. I clipped, unclipped, clipped and unclipped till I was sure I had mastered it. Then I took a little ride around the block and practiced even more till I was confident I mastered at least that part.
I had a feeling of euphoria that first little trip in my neighborhood. I felt fast, free traveling under my own power on this brand new, tuned Cannondale bike. I was really excited for my first ride the next day in the hills of San Antonio.
The First Ride
I drove to San Antonio…Florida that is, with my brand new bike in the back, my new bike shorts on, bottles ready to put in their cages on the bike, coffee in my cup holder and classic rock playing on the radio. I remember having mixed feelings about this initial ride. I had never ridden in a group before, I had never ridden with these cleats and clips before, but I knew I was in good shape but was I fit enough? After that I just thought to myself, “if you cannot go as far then just turn around and head back. no big deal.”.
I met a friend at these ball fields and was mesmerized by the amount of bikers getting ready to take their morning ride. The sea of colors from the different bikes and jerseys was extremely overwhelming. That anxious feeling came back for a second until my friend mentioned we were riding with triathletes not pure cyclists. They would understand I was on my first ride and would help me out. After preparing for my first journey, we found our formation and began the trek.
I was surprised that I was staying in the middle of the pack and with minimal effort. The wind was in my face, I was pedaling under my own power and keeping up! It was an incredibly euphoric feeling. Unfortunately, when we hit the first long hill, euphoria turned to anxiety and then… embarrassment.
My pedaling slowed, and it became extremely hard to mash down on the pedals. With very minimal spinning of my legs I tried to switch to higher gear, but I actually ended up in a lower gear which made it even harder. When I did finally gear up, it was too late. I couldn’t move the pedals fast enough to switch gears, and my chain fell off , so I was at a dead stop. Of course I was so concerned about the gears I didn’t unclip out of my pedals, and I went down on my side. The only thing that really hurt was my ego as I stood my bike up and examined the chain. The group was passing me all asking if I was ok, and taking for granted that I was telling them I was fine and to keep going. By the time I had my chain back on the group was completely out of site. I pedaled like a bat out of hell hoping to catch up, but I missed a turn and ended up 10 miles out of my way, and lost.
To make a long story short ( I know, too late) one of the faster members of the group realized I was gone, backtracked, and finally found me asking directions at a convenience store. He led me back to the group and I finished the ride without any other issues, but I learned a lot of lessons that day.
Hints to get started in cycling straight from the Goof:
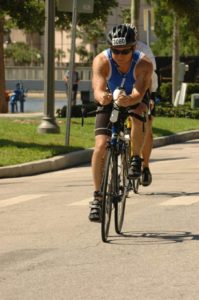
On my first bike after a couple of modifications
1. Buy an entry level road bike. This is usually an aluminum alloy frame. You don’t want a Wal-mart special, but you don’t need to start with the top of the line bike either.
2. Purchase a set of entry level pedals, cleats and shoes. The pedals usually come with the cleats and the bike shop will install them for you.
3. Purchase safety equipment. Biking shorts, and a helmet to start. I would also have a set of sunglasses as well. Not just to keep the sun out of your eyes, but it helps with the wind too. Make sure you also have at least one water bottle with a cage installed on your bike.
4. Get the bike fit for you. Have a certified bike fitter make those adjustments specifically for you.
5. Practice getting in and out of your cleats . Put your bike in a doorway, hold onto the frame and get in and get out of your cleats. Find the most comfortable side of the bike and then practice getting out of the cleats and putting your foot on the ground.
6. Take a short ride around your neighborhood and continue to practice getting in and out of your cleats. When seeing a stop or even a potential stop ahead practice just moving your heel just to the point where you unclip before stopping so you have a quick option that you can pull out of your clip to stop or return your heel to clip back in to keep going. Remember to always clip out and stand with the same foot first every time.
7. Understand your gears. While in that first ride, switch the gears on your right hand and find what lever takes you to a higher or easier gear, and which one brings you to a lower or harder gear.
8. Take your first long ride with friends and have some fun.
One last thing, you are going to fall. That is just the reality of it. You will get stuck in your cleats at some point and you will fall over, but it will be minimal. The trick is to accept it, get up brush yourself off, laugh at yourself, get back on your bike and have fun. It’s worth it I promise.
This post was originally published for IR4C for their new media site, IR4C.TV on July 2, 2013.
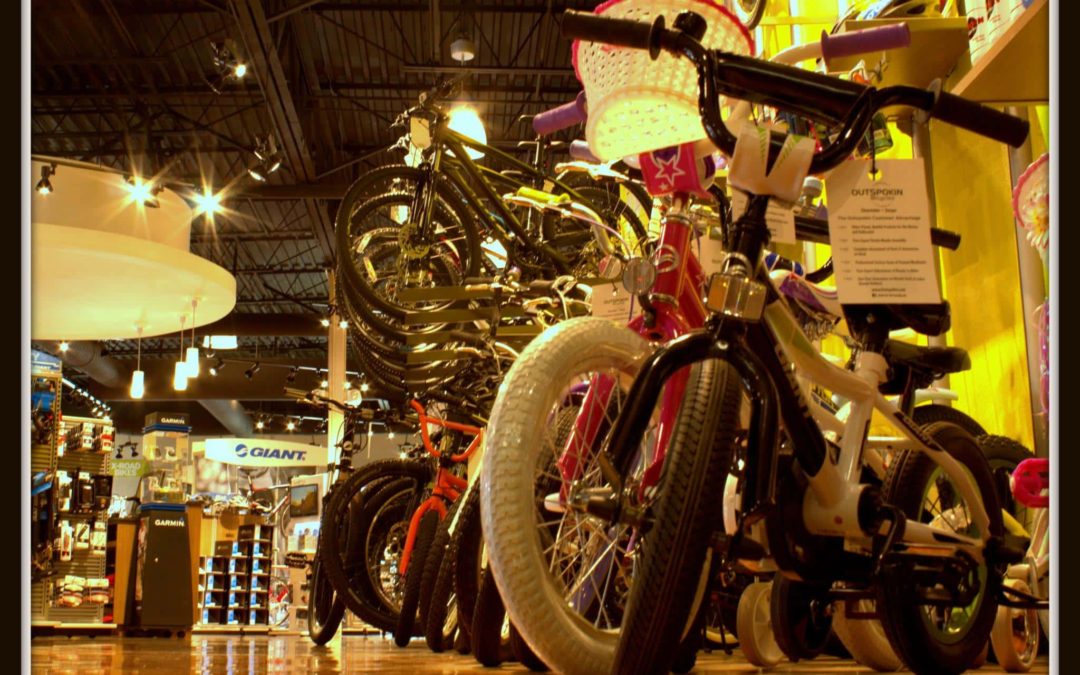
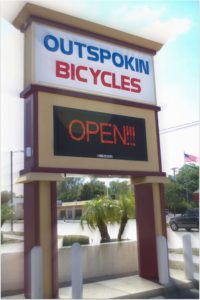
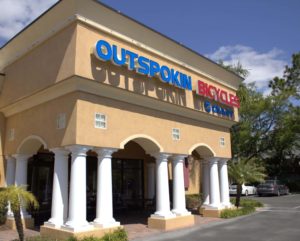
Goof Review: Outspokin’ Bicycles-Tampa
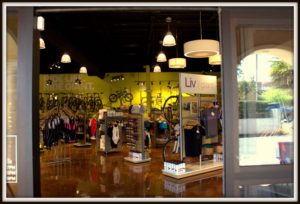
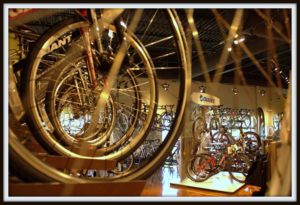
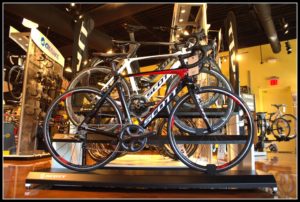
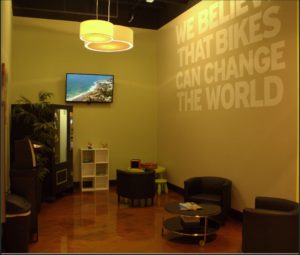
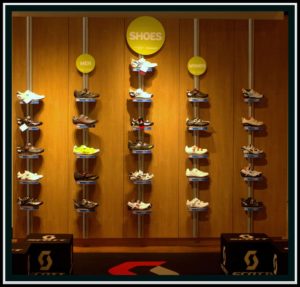
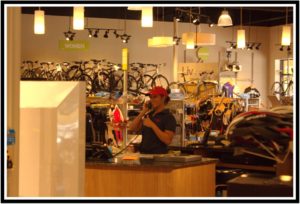
A couple of months ago, I was lucky enough to catch the first sign of my favorite bike store coming to Tampa. At the time the stand-alone store was completely gutted without any sign of what it was going to look like. Last week, after the store opened I was privileged to get my first look. In the past I had to visit the Clearwater store strategically around training and races in the area. Now, I am finally able to have the service and quality I enjoy, quite a bit closer to home. What I didn’t expect, when I wandered in for the first time, was the bike store of my dreams. Outspokin has everything that could possibly be needed, and/or wanted, by bicycle enthusiasts and triathletes.
As owner, Val Tavanese, gave me the tour, she explained this location is the store she always dreamed of opening, because it had all the services, products and amenities that she personally wanted for in a bike shop. The reason I continue to make the trip to 35 mile trip to Clearwater is not just because it is the location where I purchased my own Cervelo P2, but it is because Val and her team have always continued to provide top tier service and expert advice when I needed it. Val assured me she is determined to continue the same tradition here in Tampa.
Enough of my praise and rhetoric, let’s get to the gears and chains of this amazing store.
Right outside the entrance double doors sits a nice table and chairs that providing a shady spot to relax after a long bike ride. Walking into the sliding door you immediately see the front desk with smiling Outspokin team members surrounded by by bright colors and cycling accessories of all kinds.
Cycling manufacturers enforce their own rules and guidelines for retailers carrying their line of product. Most cycling lines will only allow retailing of their product within a certain distance between stores carrying the same line. For example, Cervelo only allows a store to carry their product within a 50 mile radius another bicycle shop in order to keep the shops from competing with one another. Outspokin Tampa is carrying three amazing retail lines in Road, Cyclecross, Mountain, and touring bikes; BMC, Giant and Scott.
What sets Outspokin apart from most bike specialty stores is their services. The most important service, in my opinion, is maintenance. Bike parts wear out, cyclists fall, and a good portion of the time adjustments need to be made do to change in technique, training regimen or even transport of the bike itself. Outspokin has always had a great team of mechanics, and they need some room to work in right? Well, the mechanics bay in the Tampa store is immense and Val has outfitted all of her maintenance team with a complete new set the tools necessary to assemble, repair and adjust their customers equipment without any sacrifice to quality.
The next superior service is fitting. In my experience, fitting the bike to the person is crucial for comfort, power and speed, especially in a road and triathlon bikes. Outspokin spares nothing when it comes to fitting. The fitting room is outfitted with the Retul system including Muve bike accessory. Retul is a complete system for measuring every length, and angle of the rider to the bike which determines the athlete’s personalized adjustments. For instance, when a riders leg is extended to the very bottom of the pedal, there is an optimum angle for the knee to be bent. This system will measure the distance of the seat post and calculate what the precise height and the horizontal position of the seat is optimal in order to achieve that angle.
The Muve bike accessory to the Retul system allows for quick changes to those measurements which then can be transferred to their bike. When I was fitting utilizing the Retul service, the Muve bike was not available, so for every change in angle I had to dismount and the technician had to pull those parts off my bike and replace them at the right measurement. With the Muve bike, when the angles change the tech can adjust with the rider still on the bike. This makes those adjustments faster and more accurate, because the computer will provide the adjusted angles and measurements as the tech is making those adjustments in real-time.
Two more advantages to do a fitting with Retul, are all of the adjustments are saved in Outspokin’s database, so when doing routine maintenance the techs can re-assemble the bike with the personalized adjustments. Also, when cyclists travel with their bike it needs to be partially disassembled. A print out of the angles and measurements can be placed with the bike, so either the rider or a mechanic can reassemble the bike without sacrificing personal comfort or performance. What about those customers shopping for a bike and really have no idea what brand or geometry is best for them? If a Retul analysis is completed, the measurements can be compared in a database that will then determine the line and models that will be the best fit for comfort, power and speed for that individual. Pretty cool, am I right?
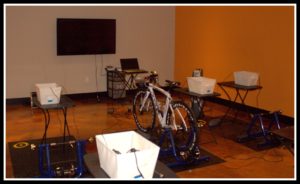
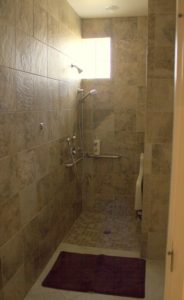
Do you want to ride in the morning, but it is raining, cold or you just do not have the time to drive out to a safe place to get a good workout in? Outspkin to the rescue with their CompuTrainer room. Eight CompuTrainers are connected to a HDTV and will allow you and a few of your fellow cyclists the ability to ride a stage of the Tour de France, or the bike course of the Lake Placid Ironman on your own bike. The CompuTrainers have the ability to add or remove resistance matching the elevation of the course as you are looking at the screen which is projecting exactly the point of view as if you were actually riding the course. Pretty Sweet, right? Outspokin makes it sweeter by providing showers, so you can ride that stage of the Tour and still make it to work that morning. Tampa to France and back in time for work. (It is almost like transporter rooms were finally invented.)
These are just a couple of services that are being provided. Other services that are coming soon include in-store Lactate Threshold and VO2 Max Testing.
I am thrilled to be able to give such a glowing review to Outspokin. I hope you get a chance to visit soon and take advantage of all the products and services they are offering.
Outspokin’s Grand Opening is this weekend, March 15 & 16th, and there will be plenty of events and vendors at the Tampa location, so check out the store, take a look at some the products vendors will be carrying and take a test ride on a new bike. Oh, and tell them you heard about it from the IronGoof. Maybe, just maybe they will reward you for it.
Carpe Viam!!!
Miles For Hope
Saturday started the perfect day. There is nothing better then a nice long bike ride with a group of not only excellent triathletes but amazing and supportive people. A few of us are on our way to Augusta, Georgia next week for an Ironman 70.3, so we took the speed a little more conservatively, which allowed me to get to know a few people a little better.

As much as I enjoy riding hard and challenging myself, there is just something really cool, about the somewhat more aerobic rides like this one. There is more of a chance to check out the local scenery, watch the sunrise, and notice stores and unique businesses I wouldn’t normally notice, but I digress.

 Miles for Hope is an event, that includes runs and rides in the support of a cure for brain tumors. The event started extremely well organized. Pete and I rolled up to a somewhat full parking lot, gabbed with a couple of friends and headed over to get our bibs and t-shirts which took all of thirty seconds. Afterwards, we had the chance to catch up with some of our group and gather everyone together at the start line. Here is where the organization wasn’t as clear as it could have been. We took off and about half-a-mile into the ride there a roundabout with a cop pointing left and arrows pointing right. Of course our group split, with half going one way and the rest in the opposite direction. Not a huge deal, a quick look at the map and we realized our mistake, but unfortunately, we didn’t catch up to a portion of the group until the halfway point.
Other than that, the ride was fantastic. The weather started in the mid 70s and didn’t rise higher than the mid 80s. The wind was slight, the company was great and no one really fell behind or ended up lost, which was probably due to the herding skills of Pete and Nick.
We ended up averaging a little over 18 MPH which was very comfortable. During an interesting conversation I had with Nick during the last twenty miles an amazing realization came over us. A year and a half ago, 18 MPH for 62 miles would have been a hard ride for us. Now we are coasting, talking and just having a great time. The lesson; keep riding, running, swimming and progress will be made. Of course we will see just how much this next weekend at Ironman Augusta.
It wasn’t completely without challenges. Pete, and I tried to chase Nick down, unsuccessfully over the 3 bridges of Clearwater, so kudos to Nick. He has gained a inordinate amount of strength this year, of course he has worked his butt off so he deserves it.
We all decided to do this because of Pete more or less. His mother is affected by a brain tumor and with everything he has been through this last year, we all wanted to support him, not to mention he is just a great guy and everyone loves him. There is not a lot I wouldn’t do for him myself and am really proud to call him one of my good friends.
We all came through the line comfortably and feeling pretty confident about next week. There was food, live music and of course beer. Beth and I went straight for the Coke which is fast becoming my recovery drink of choice. Not the best choice but it seems to working for me better than Gatorade ever did. After some great conversation, meeting up with some other riders and some pics it was time to hit the road home. For such a great ride it was actually kind of uneventful, but maybe that’s why it was so great.


 Ride Hilly Courses to Get Faster
 How to integrate Strength Training